This topic describes the different types of screens, data entry fields and other general features that you will find throughout BBS Accounting, and will assist you to have an understanding of how BBS Accounting operates before you start using it.
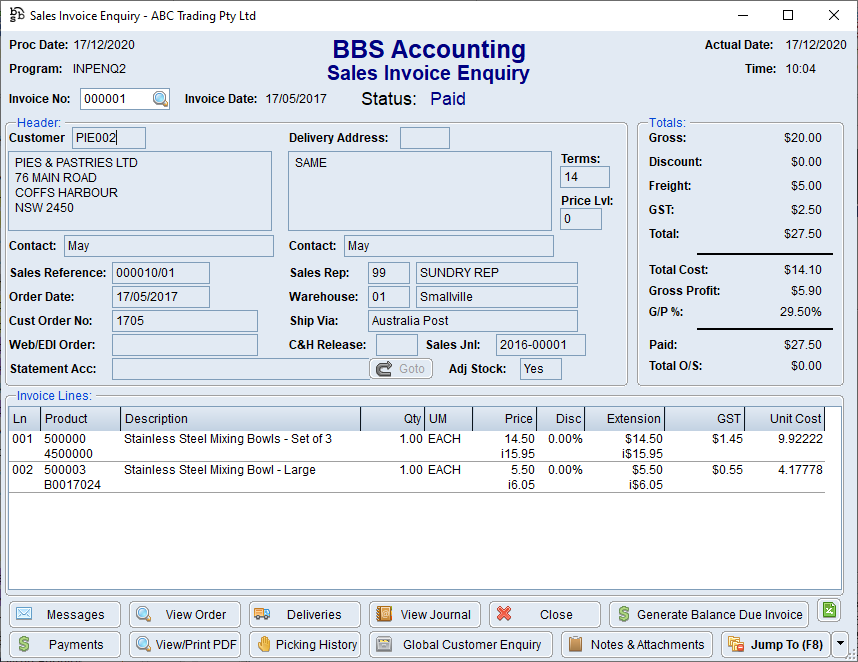
There are two main ways to find information in BBS, Enquiry Screens and Reports. The running of reports will be covered later in this topic. If information needs to be edited it can be performed through data entry and maintenance screens.
|
|||||||||||||||||||||||||||||||||||
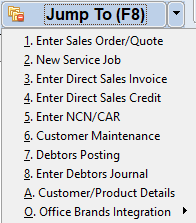
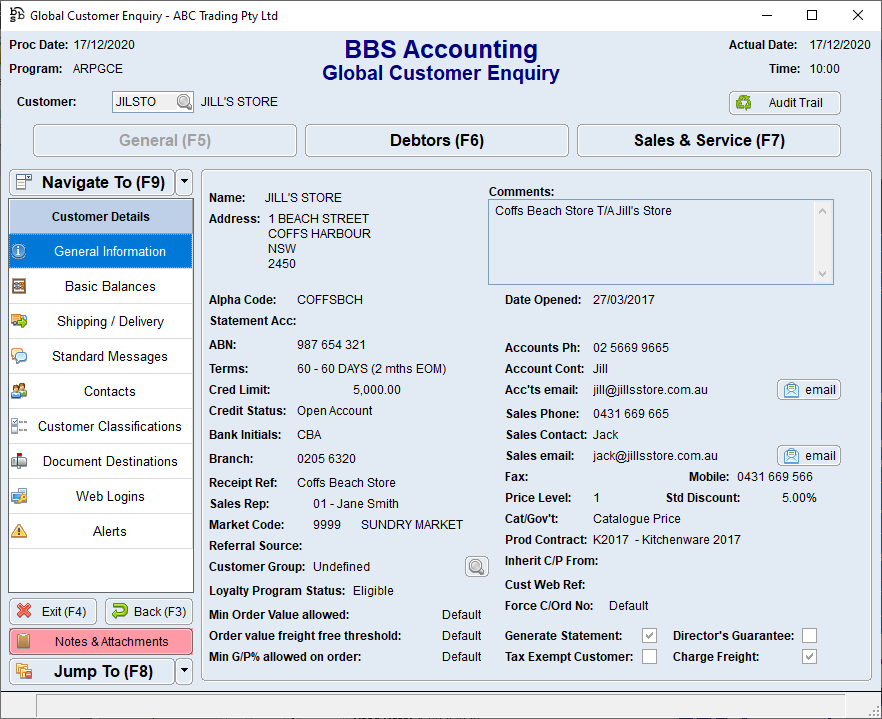
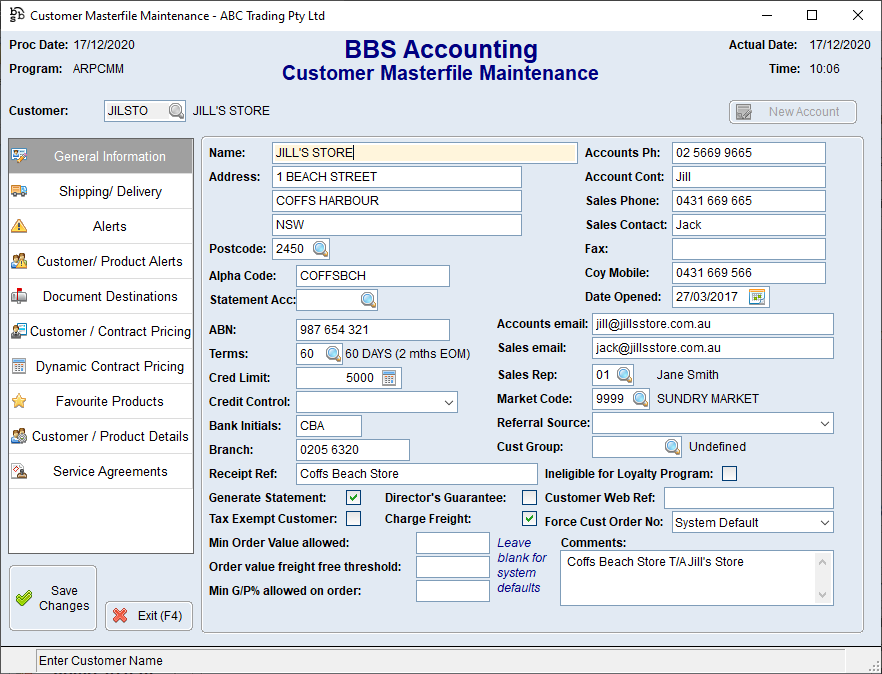
The Jump To button allows users to navigate easily from an enquiry screen to other data entry screens. For example, if you are in the Global Customer Enquiry and you would like to Jump To the Customer Masterfile Maintenance screen you can click the Jump To button and select Customer Maintenance from the drop down list. Pressing the F8 key on the keyboard will also show the Jump To drop down list.
|
 |
BBS Accounting is largely case insensitive. All masterfile codes (eg customer codes, product codes etc) and most text searches and lookups are case insensitive. Addresses, descriptions, contact details, email addresses etc can be entered in any case based on users preference. For consistency however it is recommended that all details for masterfile entries (eg customers, products etc) are entered in upper case. For this reason it is recommended that you put the CAPS LOCK on when starting BBS Accounting by pressing the Caps Lock button on your keyboard. |
 |
Modern Screens are also known as Graphical User Interface (or GUI) type screens. These screens usually have a light grey background and can be interacted with using the keyboard and the mouse. The Tab key on your keyboard will enable you to proceed in a forward direction through the fields and controls on a modern screen. Holding the SHIFT key while pressing TAB will enable you to move in a backwards direction through the screen. |
||||||||||||||||||||||||||
|
|||||||||||||||||||||||||||
 |
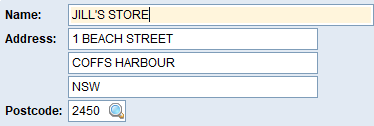
Legacy screens, or Character Based Interface screens are present in some older parts of the system. These screens are usually blue in colour and only respond to keyboard input. The cursor (either a vertical line, or rectangular block) shows where input is currently taking place. If the cursor is in the form of a vertical line typing will overtype or replace text in its path, also known as a destructive cursor. Pressing the Insert button on your keyboard will toggle the cursor to the rectangular block. In this state the cursor will insert text in front of its position, also known as a non-destructive cursor. It is recommended that users choose the non-destructive cursor when entering data. |
|
|
In most cases the keys for operations are printed at the bottom of screen. When this is not the case the following should be assumed: 1.Enter (also called CR – carriage return) confirms input of data and moves to the next field. 2.F1 opens a lookup screen (eg. when asked to enter a customer code F1 usually displays the customer lookup screen) 3.F3 moves back a field, in most cases incorrect inputs can be corrected by pressing F3 until the cursor is back at the field to be corrected. 4.F4 exits Legacy Screens.
|
|
|
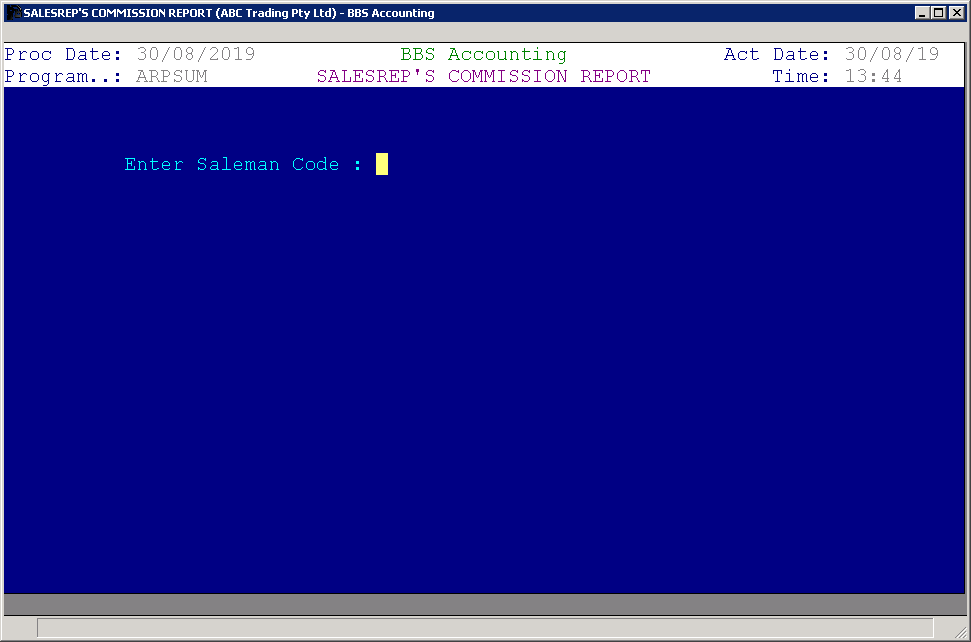 Example Legacy Screen |
|
|
||
The processing date is the date in BBS that transactions will be processed on. The processing date will default to today’s date when users log in and will show at the top left on most BBS screens. In BBS, you can only post into one accounting period at a time – ie. you cannot enter transactions in a batch for different accounting periods (different months) at the same time as the transaction will be processed into the general ledger (financial system) on the processing date. Users that wish to post transactions into different accounting periods must process them in separate batches on different processing dates. Users can change the processing date as they log in or at any time when using BBS by selecting the Change Company & Date button on the main menu. Users can also open up certain screens with a different processing date to the current one selected. See Changing the Processing Date for more details. |
All BBS users have access that has been tailored to their role in the business. This access restricts what users can see on their Main Menu tree, and also what functions they may be able to perform within a BBS screen. For more information about setting up a user see System Operator Maintenance. |
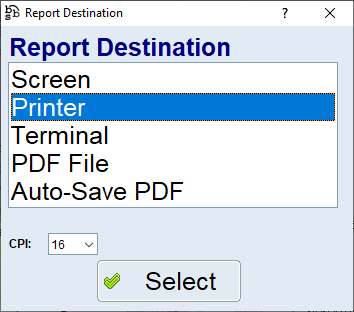
Reports can be accessed from the Reports Menu which you can view by clicking the ‘Switch to Reports’ button on the Main Menu. Just as with programs, some reports are modern reports that allow you to select parameters using the keyboard and mouse, and some are legacy reports that only allow you to enter parameters using the keyboard. There are different types of reports to suit different user needs, reports can be sent to a printer, viewed on screen or exported to Excel depending on users preference. The types of reports are shown below.
|



 TIP:
TIP: 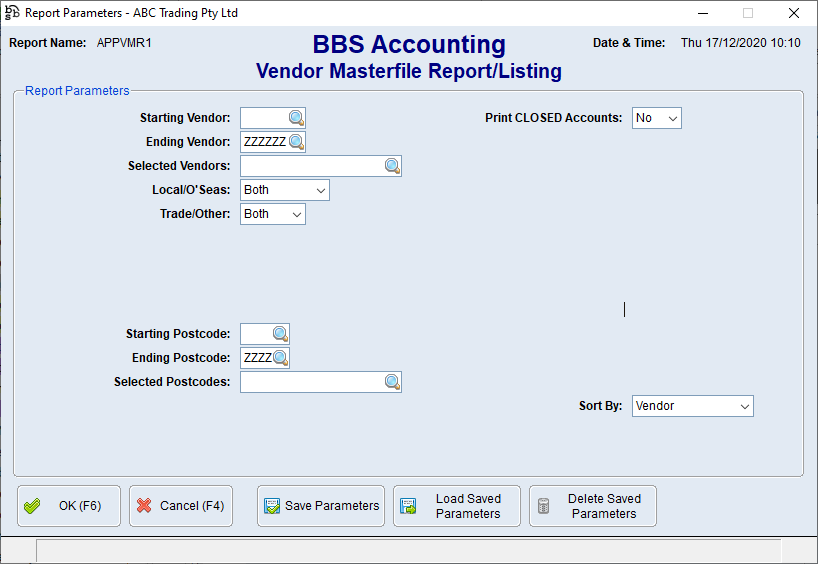

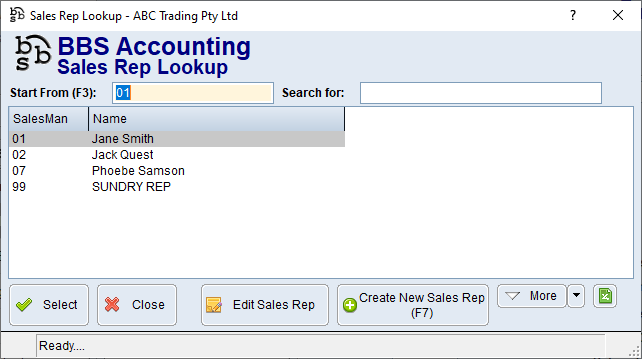
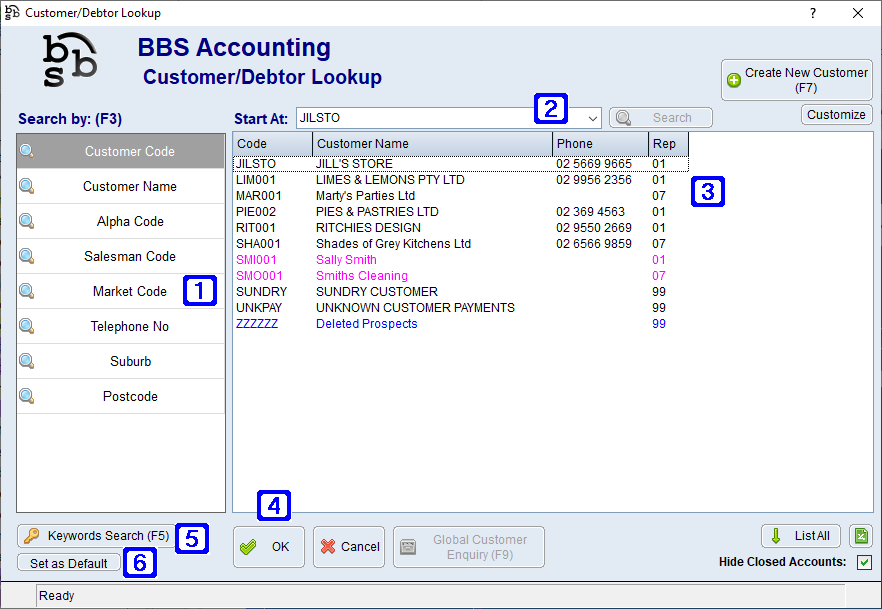
 button to the right of the input area. You can either click the button on the field to access the lookups, or if your cursor is in the field, you can press F2 on your keyboard to call up the lookup.
